last update: August 23, 2003
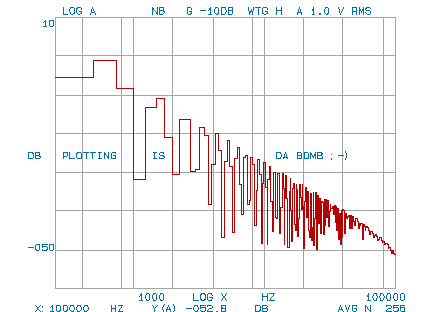
The SD375 analyzer can interface with a wide variety of equipment, including analog and digital plotters. Unfortunately, the info on how to interface with peripherals is sketchy at best. After a lot of fuzzing around, we've managed to find an easy way for the SD375 screens and settings to be transferred and saved on the PC.
It is assumed that the SD375 is equipped with the I/O option (-3xxx).
You can check whether this option is installed
by pressing PRGM, 4, MENU. If the screen reads
OPTION AVAILABLEyou're out of luck! If the I/O settings pop up, your option has been installed.
First of all, you need an interface cable. The SD375 has a 25-pin male RS232C connector at the back. Therefore, on most computer systems you will need a 25p female - 9p female connection. We found that the cross or nullmodem connection works best. You may want to create your own cable or construct one using a standard cable with a 25p gender changer.
Now that the physical connection is present, the interfacing protocols on the SD375 and the PC should be matched. On the PC, we recommend using Hyperterminal. Select 'new connection', and choose the appropriate COM port. The settings dialog is now displayed. Bring up the SD375 I/O settings menu by pressing PRGM, 4, MENU and 2, ENT, MENU. Now change either the PC or the SD375's settings such that they match.

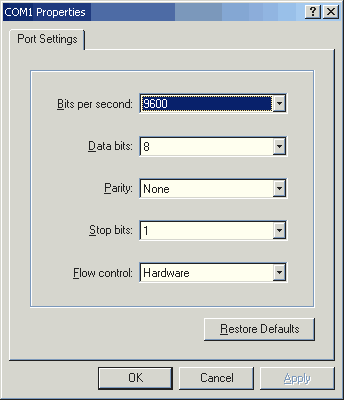
The above is an example. Almost any type of setting will work, as long as the SD375 and the PC both have the same settings. After changing a setting on the SD375, make sure to effectuate this setting by pressing the hidden I/O exec button which is located below the ADRS button. If you don't execute a change, the machine keeps its previous setting!
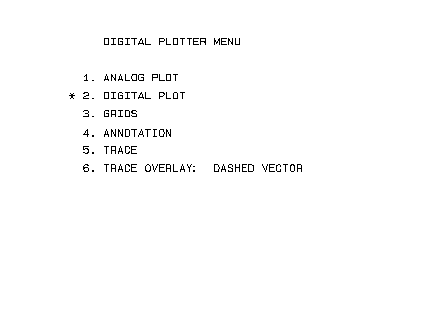
Now that the I/O settings are correct, you should select digital plotting. To do this, press PRGM, 2, MENU. Use the function sel down button to move the asterisk to digital plotting and press OPER.
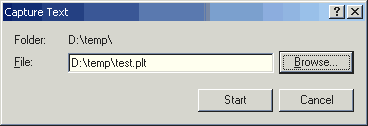
Prepare Hyperterminal to receive a file: In the menu select Transfer->Capture text. Select a filename to write to. It is recommended to name the file to have the extension .plt, since this is the default extension for HPGL files. After naming the file to be written, press start.
Now, select the screen you wish to plot, press RESET in the plotter button group and then START. The REMOTE led should light up shortly. If everything is working correctly, you will now see large amounts of garbled text appearing in the Hyperterminal window.
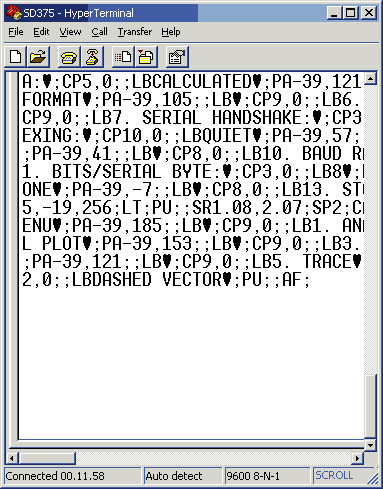
Once the transfer is complete (usually about 1..5 seconds, depending on the amount of data and settings), close the file: Transfer->Capture Text->Stop
Now load the freshly wrtten file into your favorite HPGL viewer. We have reviewed dozens and found only two programs that interpret HPGL coordinates correctly: SPLOT and PloView (SPLOT is my personal favorite).
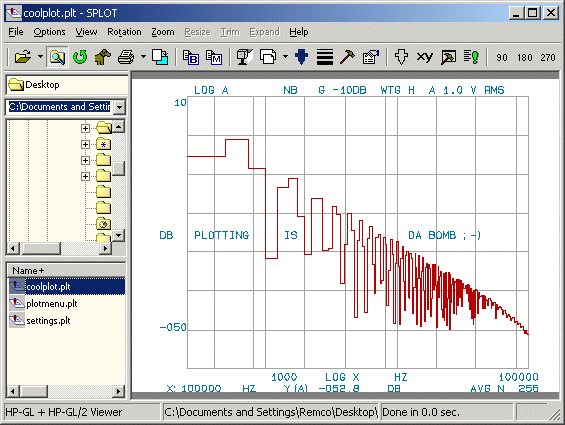
From there on, you can print, export, copy/paste etcetera in nearly any conceivable format!